Description
Inertia Pouring Frame – Concrete Inertia Base Systems
Overview
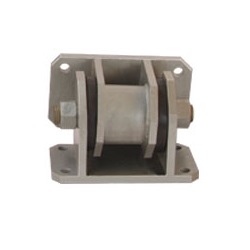
Inertia pouring frames are steel formwork systems used to create concrete inertia bases (also called inertia blocks) for pumps, compressors and rotating equipment. The inertia base adds mass to reduce vibration amplitude and provides a stable mounting platform for vibration isolators.
Features
- Heavy-gauge steel frame construction
- Designed for concrete pouring and curing
- Integrated mounting points for equipment and isolators
- Removable or permanent frame options
- Pre-drilled holes for anchor bolts
- Corrosion-resistant coating
- Custom sizes available
Applications
- Centrifugal pumps and pump assemblies
- Close-coupled pumps and vertical pumps
- Small compressors and vacuum pumps
- Motors and motor-driven equipment
- Any equipment requiring inertia base for vibration control
- Retrofit applications on existing floors
- Rooftop equipment installations
Why Use Inertia Bases
- Adds mass to reduce vibration amplitude
- Provides stable, level mounting platform
- Distributes equipment weight over larger area
- Improves vibration isolator performance
- Prevents rocking and instability
- Isolates equipment from floor irregularities
Design Guidelines
- Inertia base weight: minimum 1.5x to 2x equipment weight
- Thickness: typically 150mm to 300mm
- Extend 150-200mm beyond equipment footprint on all sides
Installation Process
- Lay a sheet of polyethylene, tarp, or fiberboard on a flat floor where the base will be poured and cured.
- Place the inertia base frame in its operating location. Ensure the rebar is located toward the bottom of the base.
- Verify that all rebar-to-perimeter channel welds are secure.
- Fill the steel frame with concrete, typically using a minimum of 3000 PSI (or Grade 25) normal-weight concrete.
- Level the concrete, making it smooth and flush with the top of the steel frame.
- Allow the concrete to fully cure and dry before any further steps.
- Ensure the frame is level, using shims or blocks to support it if necessary, particularly if using a pan-bottom base
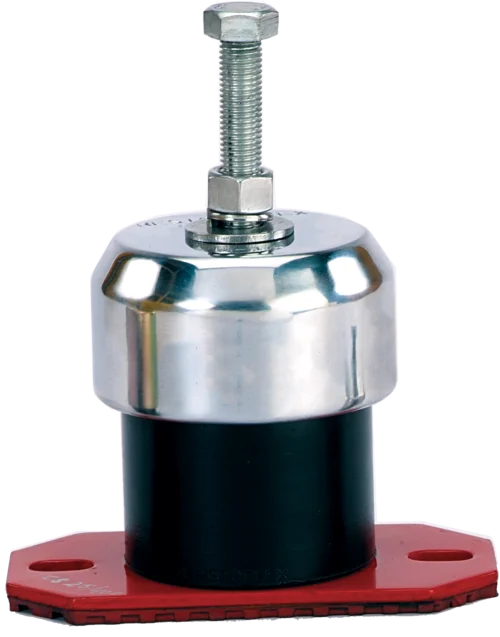
- Once cured, lift the base to install vibration isolators (springs or rubber mounts) under the mounting brackets.
- Place the equipment on the base, ensuring its orientation matches the submittal drawings.
- Use cast-in-place bolts (installed during pouring) or post-install anchors to secure the equipment to the base.
- Use the adjustment mechanisms on the vibration isolators to level the base.
- Remove all temporary blocks or shims used during the installation process.
Benefits
- Improves vibration isolation effectiveness
- Reduces floor vibration and noise
- Provides stable mounting for equipment
- Distributes loads to prevent floor damage
- Cost-effective solution for vibration control
- Can be used for retrofit applications
Contact RMS Corporation for inertia frame sizing, concrete calculations and complete vibration isolation system design including spring or rubber isolators.